Welcome, welcome, welcome to my very first blog post for my Train Them Up Component of Discipled Sprouts! I am super excited to share this first lesson with you all and hope your children will enjoy it. It is meant to serve as an object lesson alongside a really fun craft activity that is then put into action through a game. But before we dive in, because this is my very first post launching Train Them Up, allow me to give a brief peek behind the scenes of why I decided to add Train Them to my blog.
So my relationship with Jesus started becoming more intimate years ago alongside the raising of my 4 children. These 2 very important roles as a young mother, and a daughter of Christ are very much intertwined. As I look back now I can actually see that my growth in Christ during that time was the driving force behind the type of mother the Lord was fashioning me to be for my children. The funny thing is, as a mother of 4 there wasn’t much time for me to have a thriving social life, so my kids were really the only consistent social group I had at that time, so as my relationship with the Lord grew, and He revealed amazing things to me through His word, the first people I was on fire to tell would be my children. Now just try to put yourselves in my shoes for a quick minute and Imagine God teaching you deep things, like the schemes of the enemy, and the weapons he has given us to defeat him, and then being so excited about this new revelation and wanting to share it with your most favorite people in your life, running to them, bursting at the seams with excitement, and then looking down on their faces only to realize their only 13,7,4 and 2 years old! 😆 🤣 Funny right? This would literally happen to me time and time again. But something great did come from it! What sprouted in me was a determination to create ways to teach them deeper things of God on their level. And that’s what I want to be able to share with parents on this platform.
Now that they are all much older you would think it would be easier for me to teach them right? Sure, in many ways it is. However, now instead of it being an issue of presenting it on a proper age related level, and in a way that feeds their imaginations, I now have to take their unique personalities and perspectives into consideration BEFORE running them over with the new revelation the Lord recently showed me – exhausting! But still very, very exciting, because I can still say my children are my most favorite people, and that is truly a blessing from God.
My Plans for Train Them up
Some of the lessons I will share will be from my own bible study plans I made for my kids and others will be from what the Lord inspires me to create. As Christian parents we are called to disciple the little sprouts God has entrusted us with, no matter their age. It is the most important thing we may ever do in our lives. Let us be parents that do our best to lead them with love, kindness, patience, and goodness. Be the ones they can find peace and joy with , be a living example of what it means to grow in self-control, suffer long for the Glory of God, and teach them through a faithfulness that will always point them to Jesus. Let us not take lightly the ministries of our children. They have lives of their own in which the light of Christ can shine, whether in school, at home with their siblings or even their extra-curricular activities. My hope is to have practical fun lessons to help you teach them to be dependent on God to live the life He has called them to live.
Now that the formalities are over....Lets get to it!!!
Can anyone guess what the first object lesson will be on?? I hinted to it above in the bolded words. Yup! the Fruits of the Spirit. Okay, I can literally hear some of you moaning and groaning. And trust me, I get it. There are a lot of the Fruits of the Spirit to teach, but what If there is a way to turn it into a fun activity that allows for hands-on practice? I am going to lay out an object lesson embedded into a craft activity to help your children not only memorize the fruits of the spirit, but allow them to practice using them.
Craft: The Tree Whisper
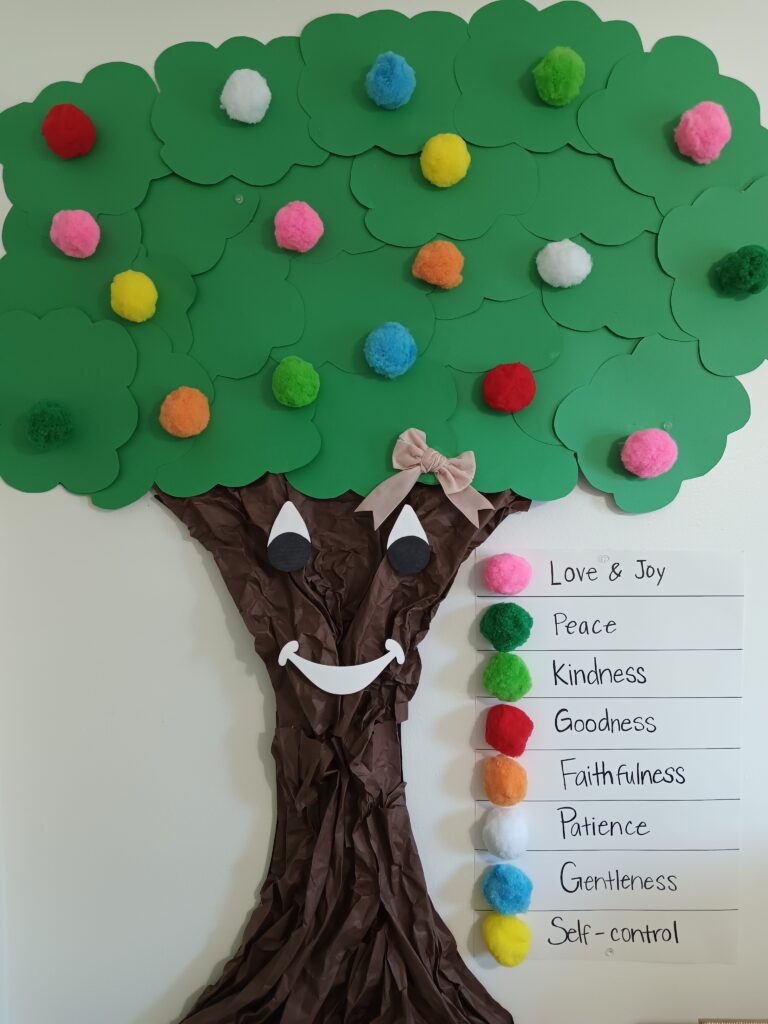
Object Lesson: Learning to use the Fruits of the spirit. This lesson is to help teach your child the importance of allowing the Holy Spirit to empower them, especially in difficult circumstances when being “nice” is hard.
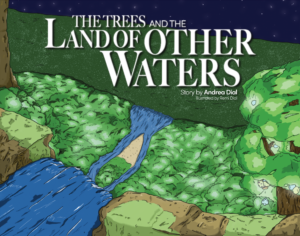
The interactive Lesson: To tie into the theme of my book The Trees and The Land of Other Waters, we will be making Whisper, the main character of the Story. Her fruits are what will be used to apply the object lesson through a game.
the Game
Parents there is plenty of wiggle room for the rules of the game, it really depends on the ages of your children and also their personalities. So you make changes as you find it necessary. But in General, this is the Jest of it.
- The main goal of the game is for your child to use The Fruits of the Spirit throughout their day for a period of days. As the Fruits are used, they are picked off of the tree by the child implementing the fruits gift. The key is having them ask the Lord to empower them to use each Fruit of the Spirit. You want to impress upon them that we need Gods help to use the fruits, because it will not always be easy to do the right thing.
- If you have more than one child and they can handle a little healthy competition, the one who used the most fruit wins. The reward can be decided by you. On the other hand, if a competitive component will not work well in your home, you can do a group reward once the tree is emptied of its fruits. Remember, this is not about winning, but about allowing the Lord to teach your kids to use his fruits.
- Your children can either see an opportunity for them to use one of the fruits OR you can help them with identifying situations where a the use of a fruit can be applied.
- Challenging situations are perfect opportunities for a fruit to be used. For example: Lets say your child is asking for a snack, you tell him/her that you will get it in a minute but they keep insisting. This is an opportunity for you to point out to your child that they can ask God to help them have patience. If they are able to wait patiently for a set amount of time until you get the snack, they are rewarded by picking the fruit of patience off of the tree.
- You as the parent can also reward your child with a fruit when you notice them applying one. For example: Lets say you have asked your child to make his/her bed up daily, but it almost never gets done. Then after starting this game you notice the bed has been made for 2 days. You could reward your child with the fruit of faithfulness.
- The amount of fruits you choose to put on your tree is totally up to you. For older children you may use all nine fruits and even double the amount you place on your tree. For your younger sprouts you may choose to use less fruits at a time, and also select the fruits that are easier for them to understand how to use.
- As time goes on, you should see your young sprouts jumping at opportunities to use the Fruits.
- In the end your tree should be empty, and if its not, it shows you what areas your children may need some guidance in understanding the fruits left behind.
- Have fun with it and make it work for your family. Change and amend things to your liking.
An important Note!
At the beginning and throughout the duration of this lesson please, please pray with your children and teach them how to pray for themselves. When they successfully apply a fruit, help them to thank the Lord for it. When they desire to use a fruit, teach them to ask the Holy Spirit to help them to use it with victory. We do not want them to learn works, instead we want them to learn how to operate through the gifts God gives them.
Supplies
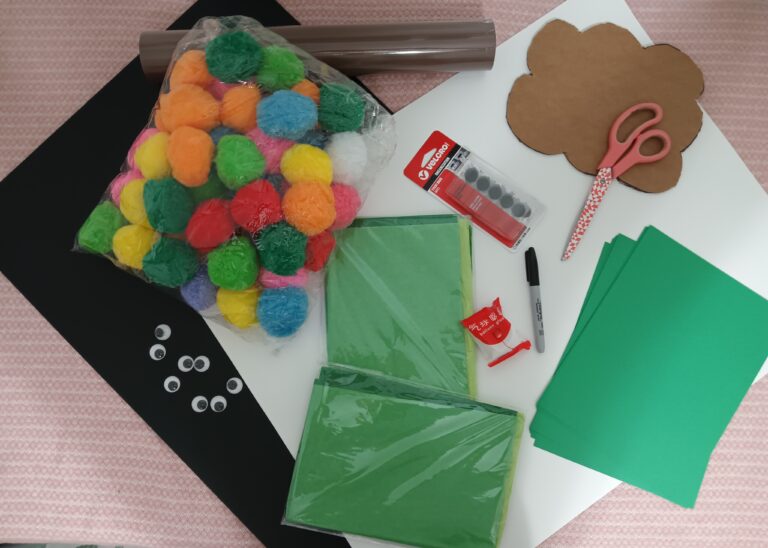
- 1 – 20 x 30 Plastic corrugated sheet (This will be used for the trunk of the tree, so use the size or material you desire, card board is a great alternative)
- Brown construction paper (this is used to give the tree trunk texture) I purchased a roll off of amazon. But you can use sheets of paper instead.
- Green card stock or construction paper (this will be used to make Whisper’s tree top) I used card stock
- Hot glue gun and glue sticks
- Tape
- 1 large Poster board ( used for the Fruit of the Spirit Chart) any color of your choosing, a lighter color is best though, as you will be writing on it. I used white.
- Template used for tracing the shape used to make tree top. Download here or feel free to free hand it.
- Scissors
- Ruler
- Marker for writing
- Clear thumb tacks ( use these if you decide to mount your tree top onto the wall)
- Assorted colored pom poms ( the size is up to you, but it correlate to the size of your tree) I used extra large pom poms I purchased from amazon
- White construction paper ( used to make Whispers mouth and eyes)
- Whisper is a girl so I added a pink bow to her tree top (this is totally optional of course).
Just a few suggestions before you start
If you decide to place your tree on the Wall, decide how you will secure all parts of it. As you add to your tree it will increase in weight. I ended up using a combination of clear thumb tacks and glue dots, that worked out best for me. Just keep in mind that thumb tacks do cause tiny little holes in your wall.
If using your wall is not a good option for you, make your tree on a large poster board or cardboard and lean it up or stand it on a counter, or a table that is easily accessible to your family. This craft does take a bit of ingenuity, but it is so worth it!
Using tape for the pom poms allows the fruit to be removed easily, but test it out after you have made it, you may need to help your child remove their fruit when needed.
Let the family crafting begin!!
(1)
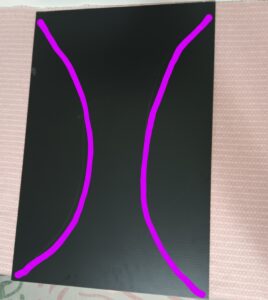
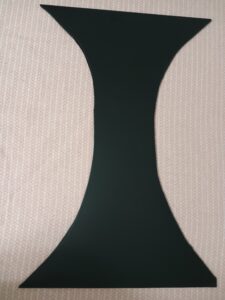
Take the board you have chosen to use for the tree trunk and just outline a simple trunk shape, I have highlighted mines in purple to make it easier for you to see.
(2)
Once you are satisfied with the shape of your trunk, just go ahead and cut it out.
(3)
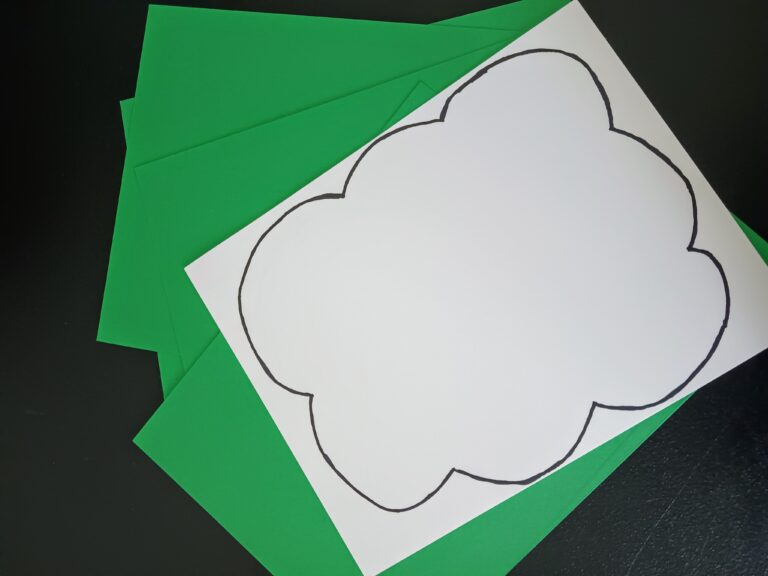
If you don’t want to free hand making the shape to use for Whisper’s tree top, I have provided a free downloadable template here. I initially traced it unto cardboard, cut it out and used that as the template to trace onto the green paper.
(4)
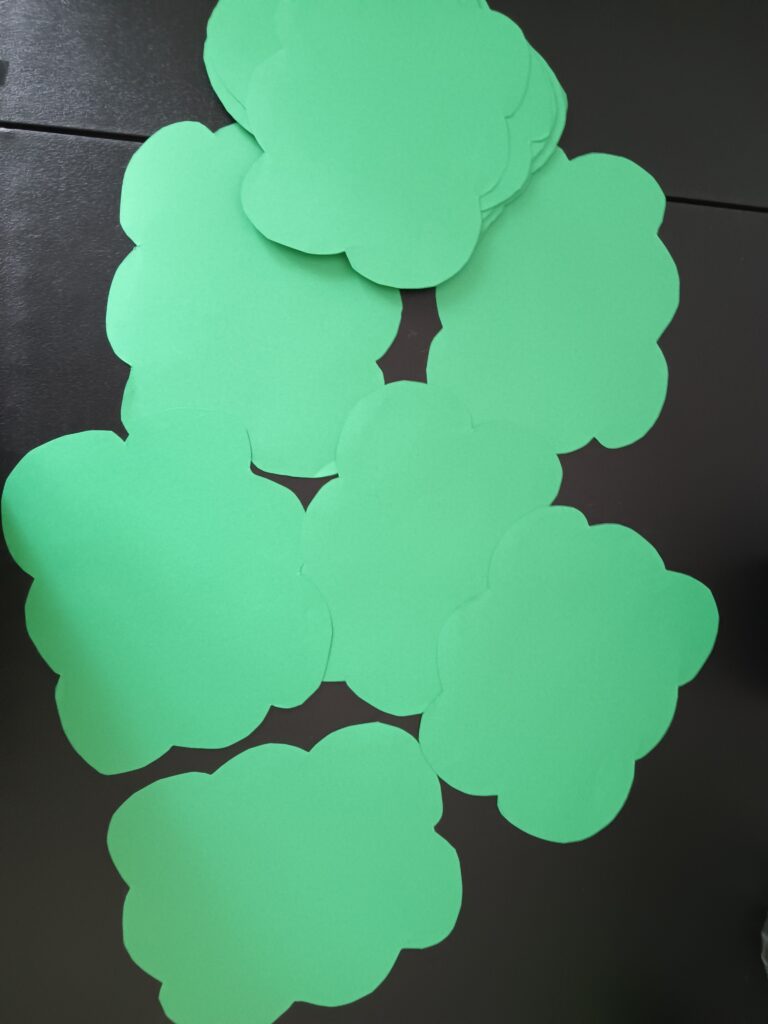
The amount you cut out is dependent on how big you are going to make Whisper. As you begin to assemble your tree, you can simply cut and add what you need.
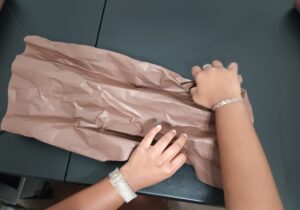
(5)
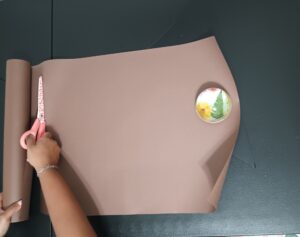
Now you can begin making the texture for Whisper’s tree trunk. if using a roll of craft paper, cut similar size sheets. If using pre cut sheets, just skip this step
(6)
Now, your simply going to squish the widest parts of the paper in towards itself. ( This part is a great job for your littler helpers)
You really cant mess this up, the more squished, the more texture the trunk will have, giving it the appearance more like tree bark..
Time for Whisper's Assembly
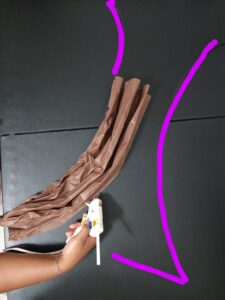
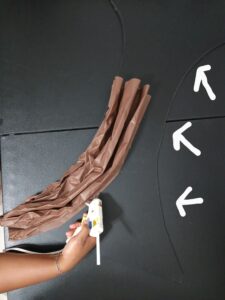
(7)
This part is easier than it may look. Just take the your tree bark and hot glue it in contour with the shape of the tree trunk. Do this until the entirety of the trunk is covered.
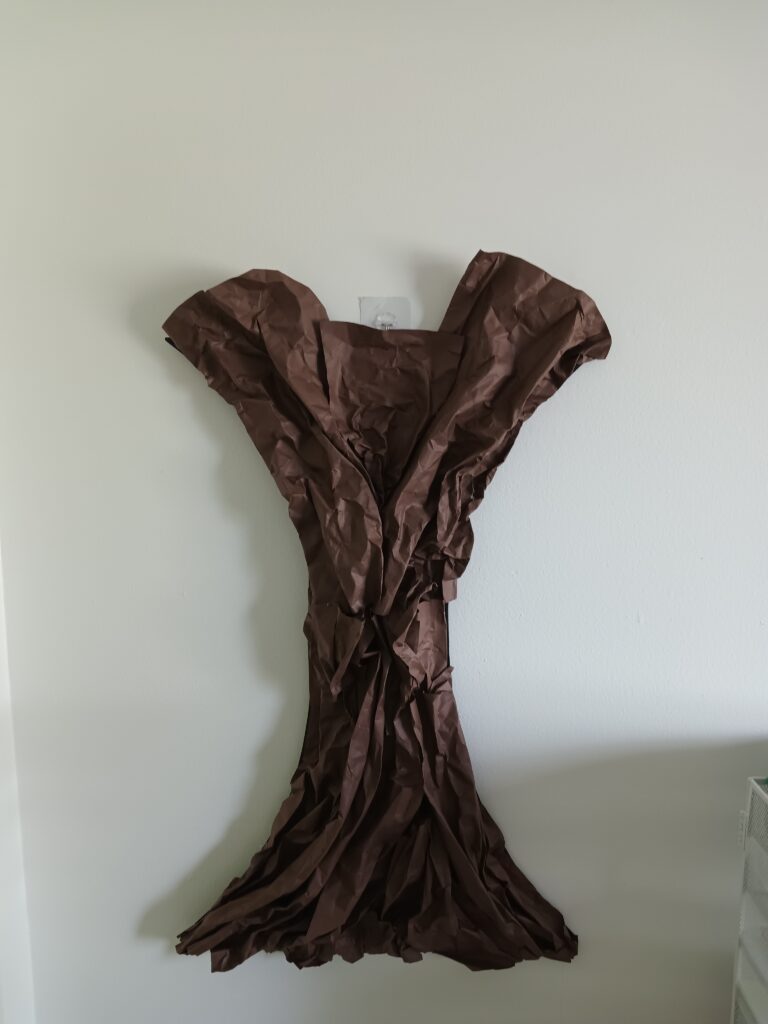
(8)
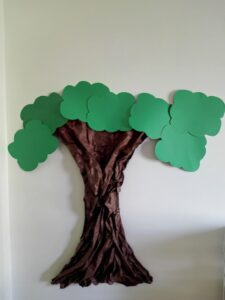
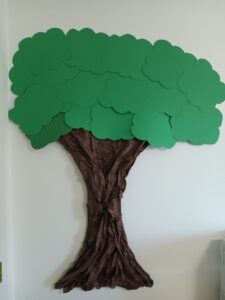
Once its done, it should look something like this. I hung mines on the wall using a picture hook. Again, if you don’t want to have yours on the wall another good idea would be to use a large piece of cardboard as the base to mount your tree onto. Do what works best for your home and family.
(9)
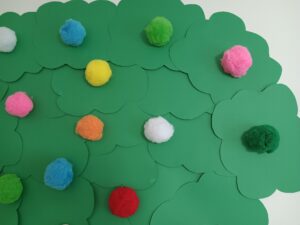
Now your ready to begin building your tree top. Take the pieces of the tree top you cut out earlier and start adding it one piece at a time to create Whispers tree top. Because I made Whisper to be on the wall, I used a combination of clear thumb tacks and glue dots to secure the pieces. You decide what will work best for you. Just keep adding pieces to build the shape you desire. You can easily add and remove until you are satisfied with how it looks.
(10)
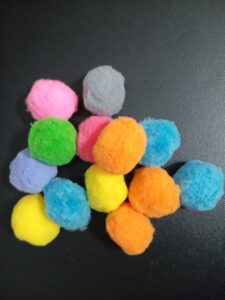
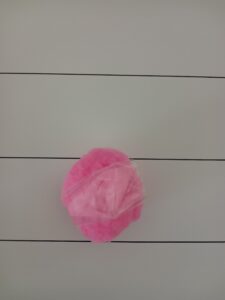
Now that your tree is done, now is a good time to gather your fruits (pom poms) and decide which ones, and how many you want to use. You want to Designate a pom pom color for each fruit of the spirit. Because the pom poms usually only come in 5-6 different colors and there are 9 Fruits of the Spirit you will probably need to have some of the fruits represented by the same color. Just be sure to reflect that on your Fruit of the Spirit Chart. You can see below that my chart has the pink pom pom representing both love and joy.
(11)
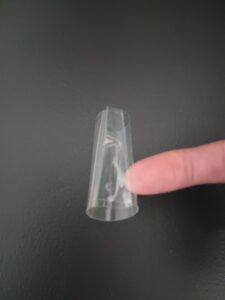
To stick your pom poms onto Whisper’s tree top, you can use double sided tape, or just make your own like I did. because my pom poms were extra large I used clear packing tape. I cute them in strips and folded them into loops so they could stick on both sides. I then placed it on each pom pom and stuck them one at a time all over the tree top. For smaller pom poms regular clear tape should work fine.
Time to bring whisper to life!
(12)
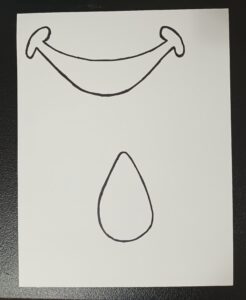
These are the templates I used to make Whisper’s eyes and mouth. You can download this sheet here, cut them out and use them, or you can just make your own eyes and mouth. These are larger for the scale of my tree.
(13)
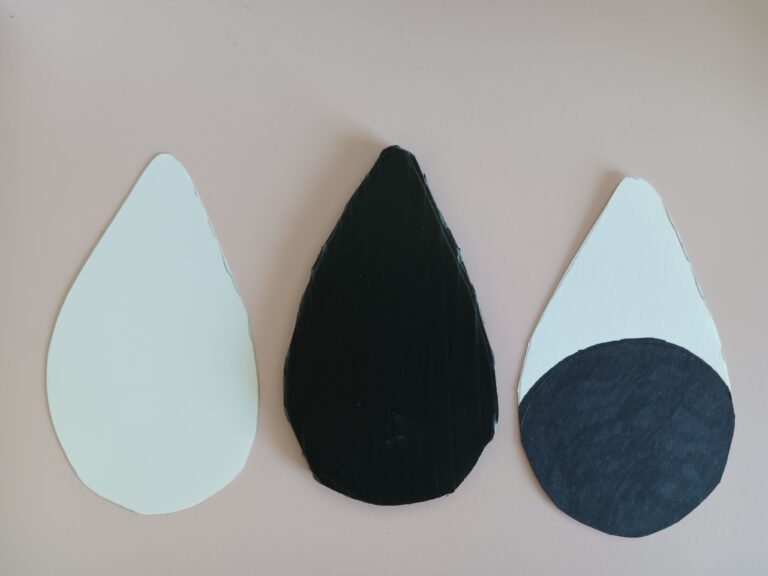
I made her eyes in 3 steps.
- I cut the first shape out of the left over plastic board I used for the tree trunk. I did this step to make her eyes sturdier for mounting onto the trunk
- I then traced it onto a white sheet of paper and cut it out.
- I glued the white one onto the black plastic flex board, and using a black marker, colored in the pupil of her eye. Do the 1st 3 steps again for the other eye.
- Use hot glue or tape to adhere her eyes and mouth to the tree trunk.
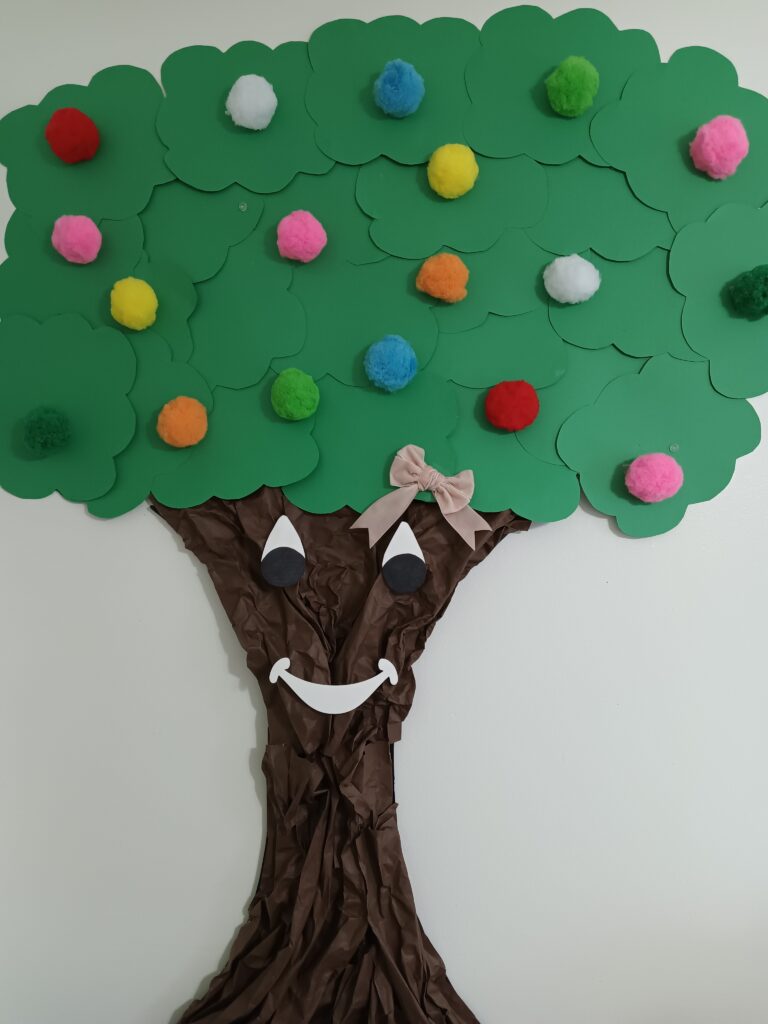
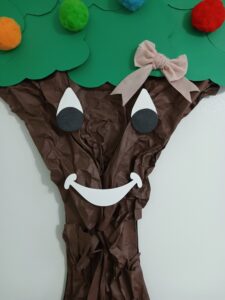
(14)
Yayyy!! you guys did it. She looks great! But hang in there a little bit longer. We still have to make the Fruit of the Spirit chart.
Fruit of the spirit chart
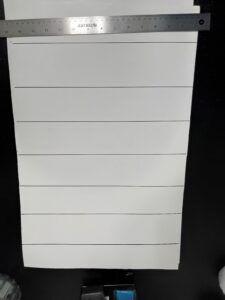
Remember the purpose of this chart is to have a reference of which pom pom represents which Fruit of the Spirit.
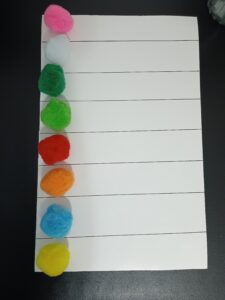
(15)
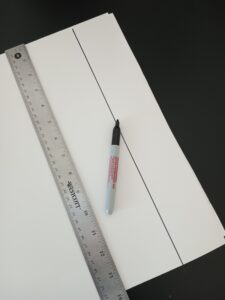
Take your poster board and cut it into the size you think would display your Fruits of the Spirit best. Its best to lay out your pom poms how you want them first and then make markings for where you will make your lines. Then remove the pom poms and just use a ruler to draw the number of lines you need. Then use tape to adhere each pom pom in the order you prefer.
(16)
The final step in making the chart is assigning the Fruits of the Spirit to its designated color. Using a bold marker write them out next to color of your choice. Giving this job to your child is a great way for them to begin learning the Fruits of the Spirit.
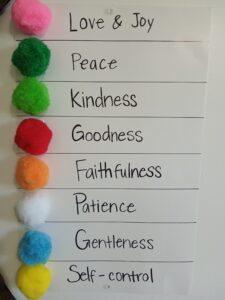
Whisper is all ready to Go!

Placing Your Fruit of the Spirit chart close to Whisper allows for ease in the interactive lesson.
Now have fun with the game! I pray this activity will open opportunities for you to teach and minister to your children all about the Fruits of the Spirit.
